How to Make Your Own Wreath: DIY Tips and Tricks

A beautifully crafted Christmas wreath is a timeless holiday tradition that instantly adds charm and festivity to any home. Making your own wreath allows you to tailor the design to your liking and allows you to perfectly match your existing décor. DIY wreath making is also a fun activity to do with friends and family, and is a great way to get everyone involved in decorating and in a festive mood.
This guide will help you create a stunning wreath that is both personal and professional, while also being a great budget-friendly décor option.

Choosing a Christmas Theme
First and foremost, you’ll need a theme. If you’ve already chosen a them for the rest of your décor, then you’re already one step ahead! If not, here are some themes to consider:
Classic: Use deep greens, reds, and golds with classic ornaments, plaid, and bows.
Rustic: Incorporate earthy tones and natural elements like wood, hessian, pinecones, and twigs.
Winter Wonderland: Focus on white and silver accents, faux snow, and glittery details.
Bright and Bold: Add an array vibrant colours with shimmering metallics and multicolour lights.
Whimsical: Strong Christmassy colours, candy canes, plush characters, and handmade signs.

Tools and Materials You’ll Need
Before starting your project, get all your essentials together. You probably won’t need everything on these lists, so figure out what items are relevant to your chosen design.
Base
This will determine how you will attach your decorations and sets the foundation for your chosen aesthetic, so go with the option that works best for you:
- Evergreen (artificial) wreath
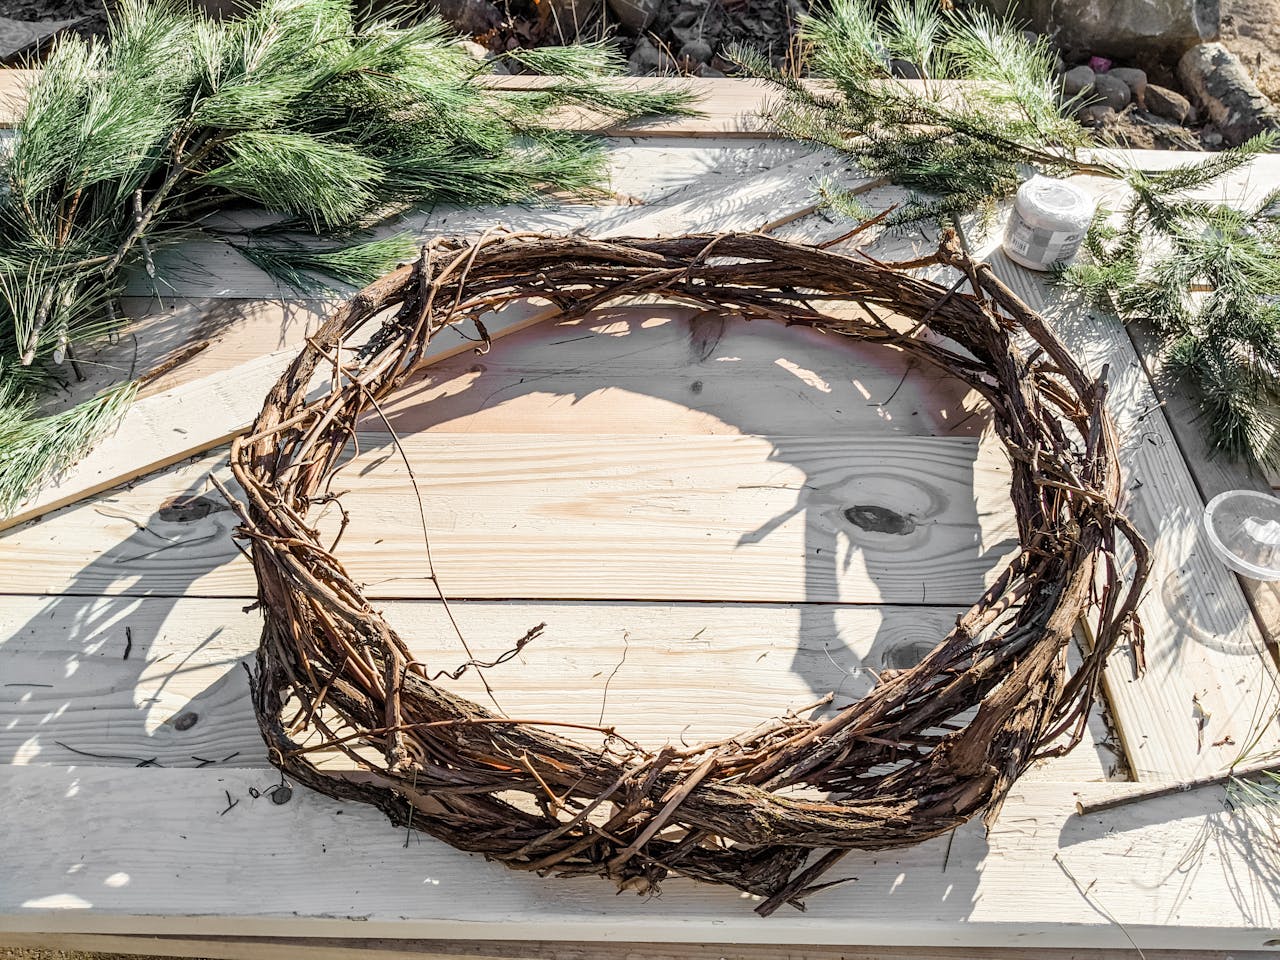
- Rattan vine or twig frame
- Styrofoam circle
- Metal hoop (premade or handmade using strong wire)
Tools
- Scissors
- Wire cutters
- Garden shears (for foliage)
- Needle-nose pliers
- Hot glue gun
- Craft glue
- Floral wire
- String or twine
- Floral tape
- Protective gardening or work gloves
Decorative Materials
- Ribbons
- Dried or faux botanicals (berries, cinnamon sticks, fruit slices)
- Picks and sprays (greenery, pinecones, holly, berries)
- Fake snow spray
- Christmas ornaments, baubles, and bells
- Festive wooden signs (e.g. “Merry Christmas”, “Santa Stop Here”)
- Plush characters
- Battery-operated fairy lights
Budget-Friendly Tips
Work with what you’ve got: Use leftover tree ornaments and baubles, recycled ribbons, or even small holiday trinkets. You can alter them to fit your theme if you need to. A wire base can be made easily using a wire coat-hanger.
Natural elements: Collect pinecones, branches, holly, or other greenery from outside. Make sure to get permission before foraging anywhere outside your own garden.
Make your own: Feeling extra crafty? You can make your own ornaments using a range of craft supplies, such as sculpting ornaments, sewing bows, or hand-painting signs.
Charity shops: Find affordable decorations, wreath bases, and other supplies at second-hand shops.

Step-by-Step Guide to Making a Christmas Wreath
Follow these steps to create a stunning Christmas wreath:
- Choose and Prep the Base
Select a base suited to your theme. For example: rustic themes look best with a natural vine/twig base, whereas bright and bold works well on Styrofoam. - Create a Foundation
Layer faux or fresh greenery or sprays evenly and in the same direction around the base, securing with floral wire (or twine for a rustic look). If using a foam base, wrap it with ribbon or garland, or simply paint it to avoid the white foam showing through.
Tip: you can go for an asymmetrical or slightly minimalist look when using a vine/twig base by leaving a portion of the circle bare and allowing the base to become part of the finished design. This works best if your base is full and has few gaps (though you can always add additional twigs to this area!) - Add Decorative Accents
Attach ornaments, botanicals, or picks. Begin with larger elements, then fill gaps with smaller decorations. Try to space the larger elements fairly evenly, but don’t be too symmetrical as it can feel rigid and less organic. Some clusters of smaller elements can work well, but try not to leave any areas too sparse and keep the overall spacing consistent. - Incorporate Ribbon or Bows
Wrap ribbons around the wreath making sure not to cover too many existing decorations (though many designs skip this step). Attach a single large statement bow to serve as a central element, or use multiple small bows throughout to compliment the decorations. Leave the bow tails long to add dimension.
Tip: ribbon can also be used to hang your wreath, so think about incorporating this into your design! - Lighting (Optional)
Wrap fairy lights around the wreath for a warm glow. Secure the battery pack at the back for easy access. This step may work better at an earlier stage, usually before adding ornaments, to keep the lighting more subtle. - Final Touches
Ensure all elements are firmly secured with glue or wire, and make any adjustments to balance the design. Take a step back and see how it looks from afar, as that’s how it will mostly be seen. Add snow spray if part of your design (this can be added at an earlier stage if there are elements you want to avoid covering).

Hanging Your Wreath
There are lots of different ways to hang a wreath, but it can depend on things like what kind of door you have or how heavy your wreath is. Here are a few hanging options:
Wreath Hanger: Designed specifically for hanging wreaths, simply hook it over the top of your door, making sure the door closes properly.
Ribbon: You can use the same ribbon used in your design if it’s sturdy enough. Pull the ribbon through the middle of the wreath and either loop over the top of the door (similar to the wreath hanger) or through the letter box and attach on the other side, or hang from the door knocker if you have one.
Fishing Line (Nylon Monofilament): An almost invisible string that’s strong and durable. Can be used if you want a nice clean look with no visible hanging elements. Tie to the door knocker or one of the hook options below.
Suction Hooks: Works best on a smooth surface, such as glass or PVC. May not work if your wreath is too heavy.
Command Hooks: Choose ones that can handle your wreath’s weight. Command strips are easy to remove and should leave no residue behind.

Maintenance and Storage Tips
To keep your wreath looking great throughout the holiday season:
If Using Fresh Greenery: Mist it lightly every few days to prevent drying.
Protect from Harsh Weather: If displayed outside, keep it shielded from heavy rain or direct sunlight. Check everything is OK after any frost or low temperatures.
Storing After Christmas: Use a wreath storage box/bag to maintain its shape and protect it from dust. An appropriately-sized plastic tub or cardboard box will work as well.

A DIY Christmas wreath is a wonderful way to bring holiday cheer to your home. Whether you prefer a traditional, rustic, or modern design, making your own wreath allows you to express your creativity while celebrating the season. Gather your materials, choose a theme, and enjoy crafting a festive masterpiece that will be a highlight of your holiday décor!
Back to All Posts
