
Educational and Fun DIY Garden Projects for Kids this Summer Holiday
Educational and Fun DIY Garden Projects for Kids this Summer Holiday
As the summer holidays approach, parents and guardians often find themselves seeking engaging activities to keep their children occupied. What better way to combine fun, learning, and outdoor time than with DIY garden projects? These activities not only entertain but also educate, teaching kids about nature, responsibility, and the joys of gardening. Involving children in garden projects can strengthen family bonds and instil a love for the outdoors. This article explores various DIY garden projects perfect for kids during the school summer holidays, ensuring they stay active, curious, and creatively engaged.
Preparing for DIY Garden Projects
Safety Tips
Before starting any garden project, it’s essential to discuss safety rules with your children. Ensure they understand the importance of handling tools properly, wearing gloves, and washing hands after gardening. Supervision is key, especially when using sharp tools or handling soil.
Necessary Tools and Materials
Gather all the necessary tools and materials before starting your projects. Basic gardening tools like trowels, gloves, watering cans, and pots are essential. Depending on the project, you might also need items like paint, brushes, wood, nails, or compost materials.
Involving Kids in the Planning Process
Engage your children in the planning phase to make them feel invested in the projects. Let them choose plants, design layouts, or decide on the colour schemes for painted pots. This involvement enhances their interest and enthusiasm for the activities.
Project 1: Creating a Mini Herb Garden
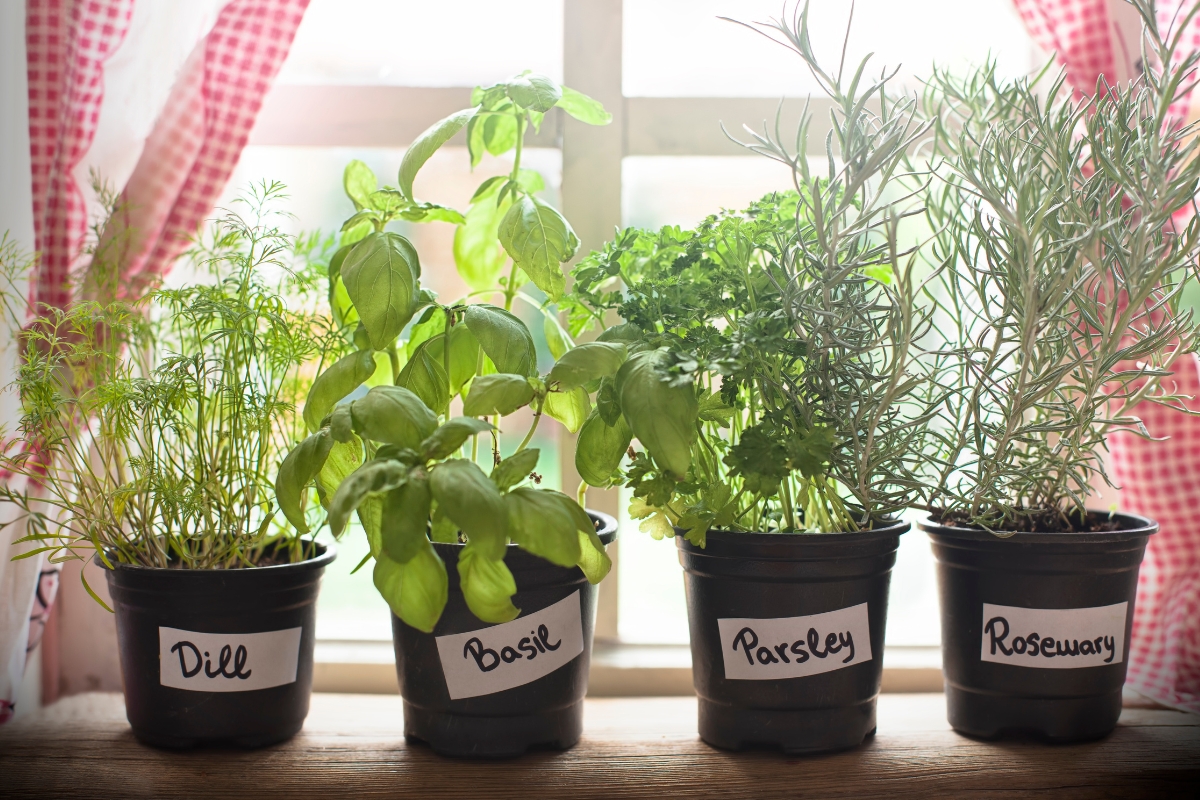
Creating a mini herb garden teaches children about plant care and growth. They learn the importance of watering, sunlight, and soil quality. Watching the herbs grow and using them in cooking can be a rewarding experience, fostering a sense of responsibility and accomplishment.
Materials Needed
- Small pots or containers
- Potting soil
- Herb seeds or small herb plants (e.g., basil, parsley, mint)
- Watering can
- Labels or markers
Step-by-Step Instructions
- Select a few easy-to-grow herbs. Basil, parsley, and mint are great choices for beginners.
- Fill the pots with potting soil, leaving some space at the top.
- If using seeds, sprinkle them evenly over the soil and cover lightly. For seedlings, dig small holes, place the plants in, and firm the soil around them.
- Water the plants gently. Ensure the soil is moist but not waterlogged.
- Use labels or markers to identify the herbs. This helps kids learn the names and characteristics of different plants.
- Place the pots in a sunny spot, either in the garden or on a windowsill.
Project 2: Building a Bug Hotel
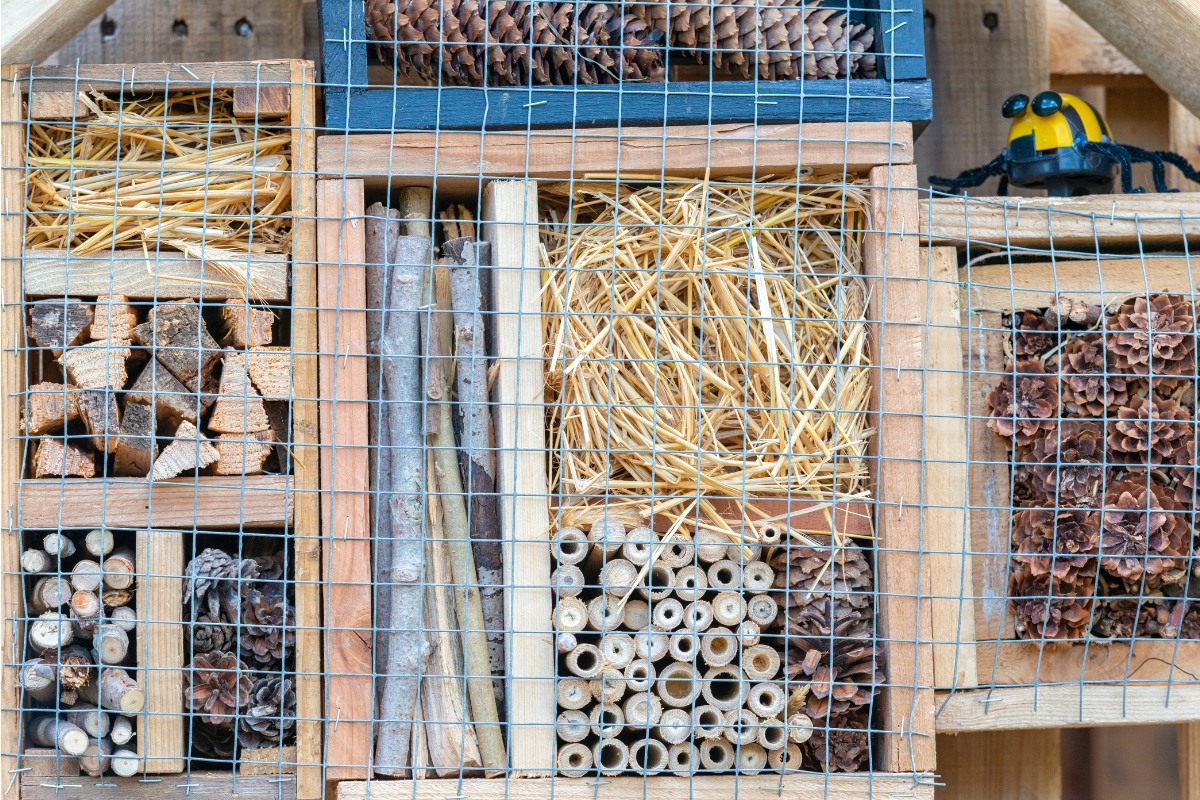
Building a bug hotel helps children learn about biodiversity and the importance of insects in the ecosystem. They can observe different species and understand their roles, fostering a deeper appreciation for nature.
Materials Needed
- Wooden pallets or blocks
- Hollow stems (bamboo, reeds, old straws)
- Bricks with holes
- Dry leaves, straw, pinecones
- Chicken wire (optional)
- Garden tools (hammer, nails, saw)
Step-by-Step Instructions
- Choose a shady spot in the garden for the bug hotel. This could be against a fence or under a tree.
- Arrange wooden pallets or blocks to create a box frame. Add dividers or a triangular roof shape if desired. Have an adult secure it with nails.
- Fill the gaps with a variety of materials like hollow stems, bricks with holes, straw, pinecones, and dry leaves. Each material attracts different insects.
- If needed, use chicken wire to hold loose materials in place at the front.
- Let kids decorate the bug hotel with painted signs or drawings to make it inviting to any potential guests!
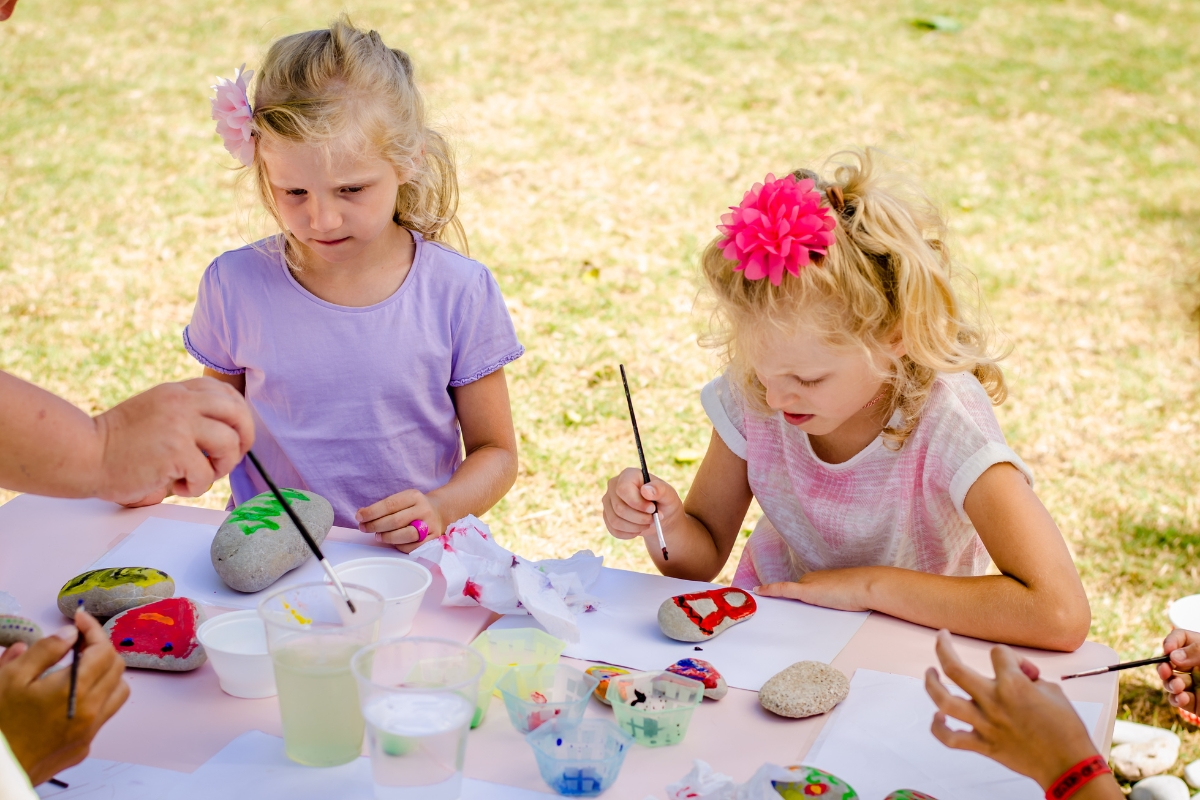
Project 3: Painting Garden Pots
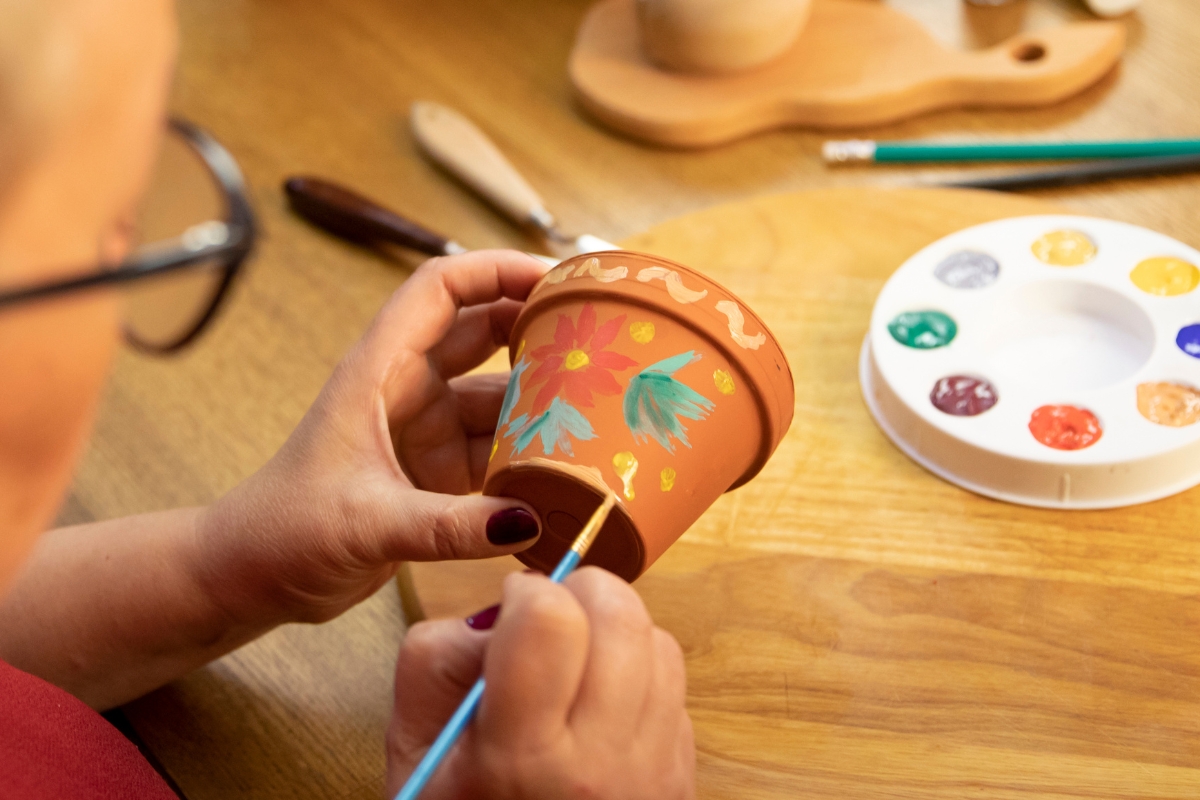
Painting garden pots allows children to express their creativity and personalise their gardening space. It’s a fun way to introduce art into gardening and creates a sense of ownership and pride in their creations.
Materials Needed
- Terracotta pots
- Acrylic paints
- Paintbrushes
- Water and cloth for cleaning
- Clear sealant (optional)
Step-by-Step Instructions
- Cover your workspace with old newspapers or a plastic sheet to protect surfaces from paint.
- Ensure the pots are clean and dry before painting.
- Let kids sketch their designs first on paper or start sketching directly onto the pot with a pencil. Anyone feeling confident enough can skip this step and go straight to the paint!
- Use acrylic paints to decorate the pots. Encourage creativity with colours and patterns. Find pictures of flowers, insects or animals to use as inspiration.
- Allow the pots to dry completely. Apply a clear weather-proof sealant to protect the paint if desired.
Project 4: Planting a Butterfly Garden
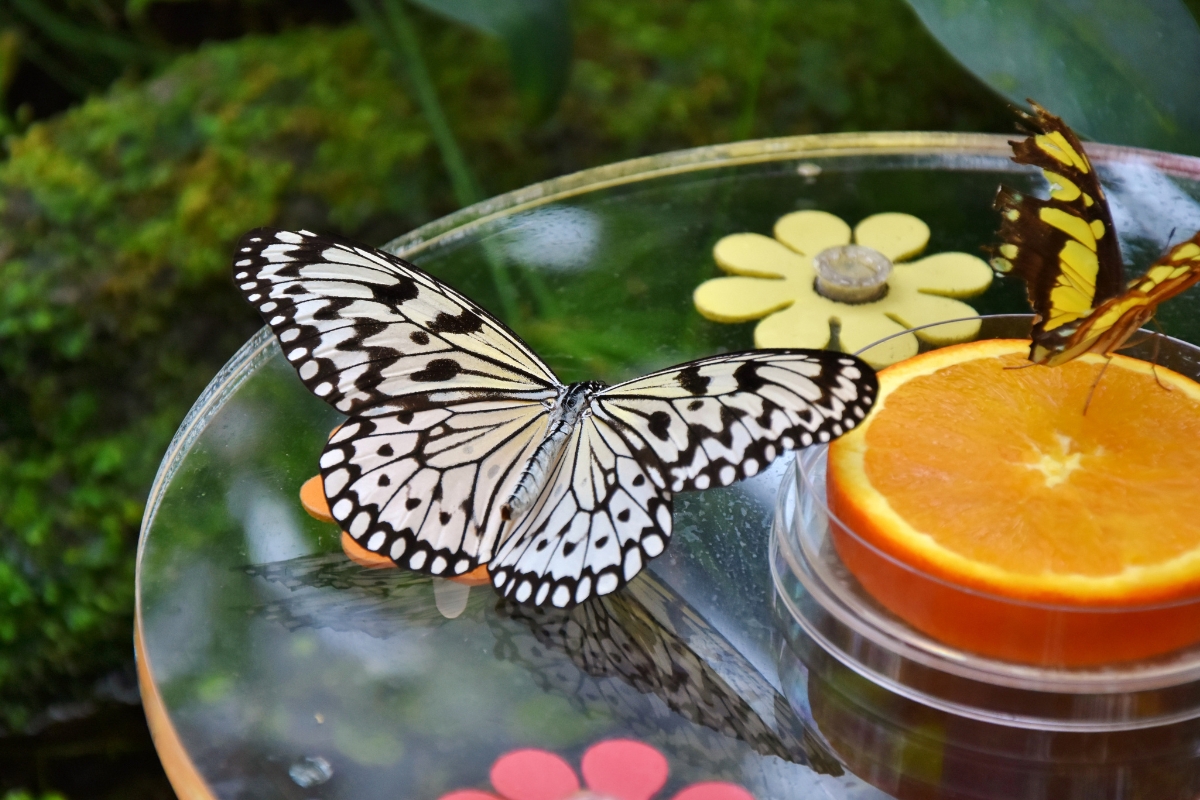
Planting a butterfly garden teaches children about the importance of pollinators and their role in the ecosystem. They learn about different plants and their lifecycles while enjoying the beauty of butterflies visiting the garden.
Materials Needed
- Nectar-rich flowering plants (e.g., buddleia, lavender, marigolds)
- Water source (e.g., shallow dish)
- Garden tools (trowel, watering can)
- Mulch or compost
- Ripened fruit (optional)
Step-by-Step Instructions
- Choose a variety of nectar-rich plants that attract butterflies, such as the ones listed above.
- Clear the area of weeds and dig the soil to loosen it. Add compost or mulch to enrich the soil.
- Dig holes for the plants, place them in, and firm the soil around them. Space the plants according to their needs.
- Water the plants well after planting.
- Place a shallow dish with water and some stones for butterflies to perch on. Optionally, slice pieces of ripe fruit, like oranges, bananas or nectarines, and place on a flat, preferably elevated surface for the butterflies to enjoy.
Project 5: Creating a Garden Scavenger Hunt

A garden scavenger hunt is a fun way to engage children in exploring the garden. It helps them learn to identify plants, insects, and tools while developing observational skills and promoting outdoor activity.
Materials Needed
- Paper and pencils (or small stickers)
- List of things to find (e.g., specific plants, insects, garden tools)
- Magnifying glass (optional)
- Small prizes or rewards (optional)
Step-by-Step Instructions
- Create a list of items for the scavenger hunt. Include a mix of common and slightly more challenging items.
- Explain the rules to the children, such as no running, being gentle with plants and insects, and respecting the garden.
- Give each child a copy of the list and a pencil/pack of stickers to mark off the items as they find them. A magnifying glass can be a fun way to help find smaller insects or take a closer look at anything on the list!
- Set a time limit for the scavenger hunt to keep it exciting or keep it casual and let each child go at their own pace.
- Optional – provide small prizes or treats for completing the hunt.
Project 6: Building a Bird Feeder
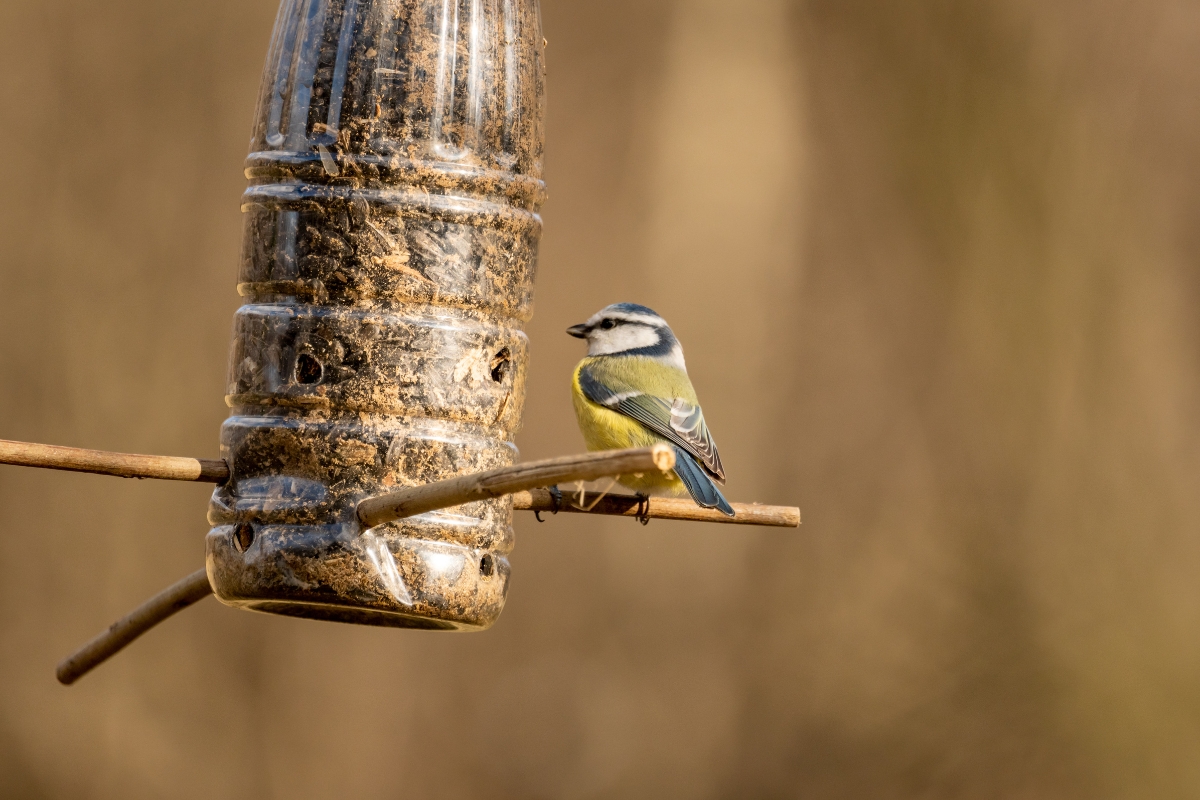
Building a bird feeder teaches children about local bird species and their feeding habits. They can observe the birds that visit and learn to identify different types, fostering an interest in wildlife and nature conservation.
Materials Needed
- Empty plastic bottle or drinks carton
- String or wire
- Wooden stick (or old wooden spoon)
- Scissors
- Birdseed
- Paint and markers for decoration (optional)
Step-by-Step Instructions
- Clean the plastic bottle or carton thoroughly.
- Poke two holes on opposite sides at the bottom, large enough to fit your wooden stick or spoon. Pass the stick or spoon straight through the bottle, making two perches for birds to sit on. If using a spoon, have the wide end upright and next to the bottle.
- Cut a few holes on the sides above the sticks for the birds to access the seed.
- Poke a hole in the top and thread string or wire through for hanging.
- Let the children decorate the bird feeder with paint and markers.
- Fill the bottle or carton with birdseed. Put some in the wooden spoon if you used one!
- Find a suitable spot in the garden to hang the bird feeder, ideally somewhere visible from a window. See how many visiting bird species your kids can identify!
Project 7: DIY Garden Markers
Creating garden markers is a fun, artistic project that helps children learn to identify plants and organise the garden. It adds a personal touch to the garden and makes it easier to keep track of what’s growing.
Materials Needed
- Large lollypop sticks, wooden spoons or flat stones
- Paint and markers
- Clear sealant (optional)
Step-by-Step Instructions
- Choose wooden sticks or flat stones for the markers.
- Identify plants that are growing in the garden. Write a list of what you want to label.
- Let the kids paint the sticks or stones with the names of plants or vegetables. They can also add small drawings or decorations for added flair!
- Allow the paint to dry completely and apply a clear sealant to protect the artwork if desired.
- Place the markers in the appropriate spots in the garden.
Project 8: Creating a Fairy Garden
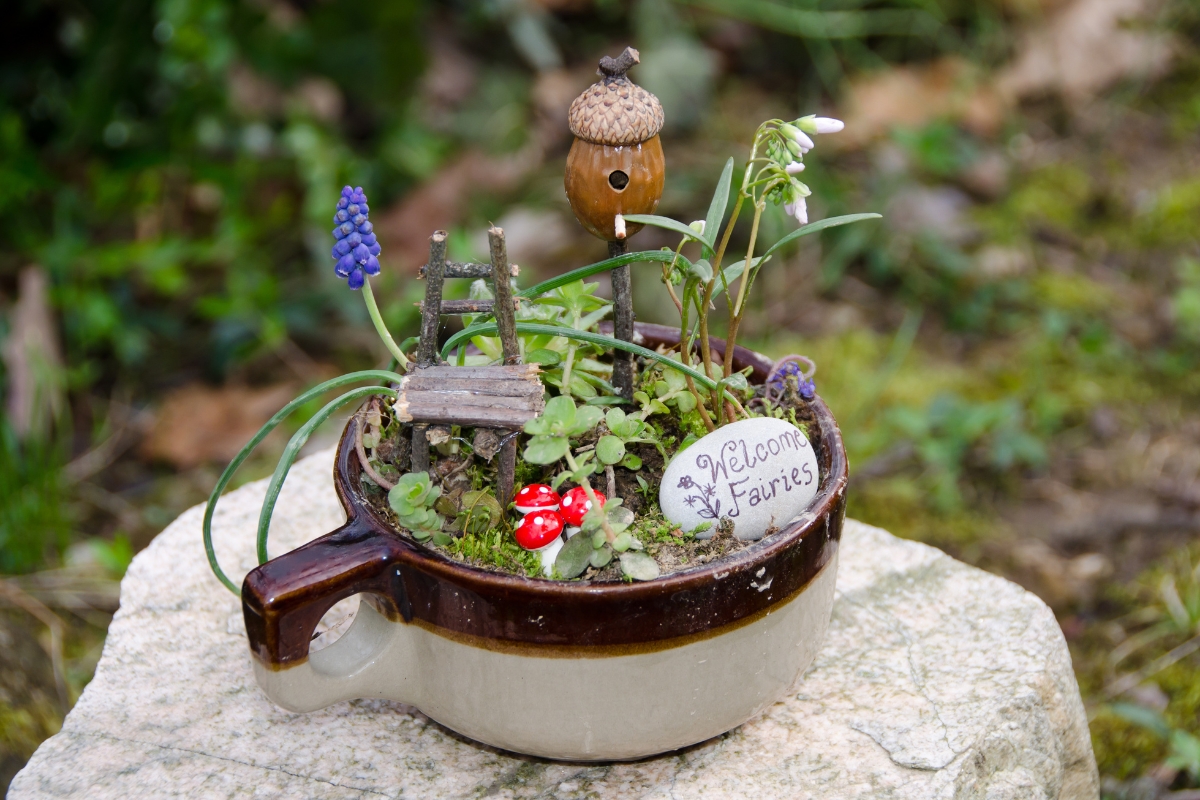
Creating a fairy garden stimulates children’s imaginations and encourages creative play. They can invent stories and scenarios for their fairy garden, enhancing their creativity and storytelling skills. It also introduces them to basic gardening concepts in a fun and engaging way.
Materials Needed
- Shallow container or designated garden area
- Small plants (e.g., succulents, moss)
- Miniature fairy garden accessories (houses, figurines, pebbles)
- Potting soil
- Decorative items (stones, shells, marbles)
Step-by-Step Instructions
- Choose a shallow container or a small weed-free section of your garden to place the fairy garden.
- Fill the container or area with potting soil.
- Choose small plants like succulents or moss that fit well in the space. Arrange and plant these in the soil, keeping in mind future placement of furniture and accessories.
- Add miniature fairy garden accessories, stones, shells, and other decorative items to create a magical scene. Bonus – let your kids make the furniture and accessories themselves out of clay or other DIY materials!
Maintaining Your Projects
You’ll want your creations to last and keep looking their best for a long time. Here are a few tasks you can involve your kids in to help keep them interested and learning.
Watering: Ensure all plants receive regular watering. Teach children how to check soil moisture levels to determine if it’s too dry, too wet, or just right.
Weeding: Show children how to identify and safely remove weeds from the garden.
Feeding: Use compost or natural fertilisers to nourish the plants.
Monitoring: Encourage children to regularly observe their projects and note any changes or issues. Establish a routine for checking on the projects, making it a fun and educational part of the day.
DIY garden projects offer a wonderful opportunity for children to engage with nature, learn new skills, and enjoy the outdoors during the summer holidays. These projects provide educational benefits, foster creativity, and are a great way to spend time as a family. By involving children in gardening, we instil a sense of responsibility and a love for the environment that can last a lifetime. So, gather your tools, head to the garden, and start creating memorable and educational experiences with your kids today!
Back to All Posts